8 Steps to Document Storm Damage for Insurance
Last Updated: November 12, 2026
Quick Summary
To document storm damage for insurance, first confirm it is safe to enter, then photograph each home elevation wide and close-up, log the storm date and claim number, and report to your insurer within 24 to 72 hours. Keep every photo, receipt, and note in one dated digital file backed up in two places.
- Never climb on the roof; take ground-level photos with a zoom lens instead.
- Name files date first, like 2026-11-12_roof-south_close-up_01.jpg, so they sort chronologically.
- Keep original files unedited and back them up to both a cloud account and a physical drive.
- Report the claim before gathering contractor quotes, since policies require prompt notice.
- Make only temporary repairs, photograph them before and after, and save every receipt.
Table of Contents
- Safety First: When to Stop and Call for Help
- Your Storm Damage Insurance Claim Checklist, Start to Finish
- Storm Damage Claim Photo Documentation: What to Shoot and How
- How to Write a Damage Report for Insurance That Holds Up
- How Long to Report Storm Damage to Insurance and Meet Your Policy Duties
- Separating Storm Damage From Pre-Existing Wear
- Hidden Damage, Temporary Repairs, and Organizing Your Evidence File
- Run Your Own Readiness Check Before the Next Storm
- Frequently Asked Questions
Safety First: When to Stop and Call for Help
Before you photograph a single shingle, check that the building is safe to approach. Storm damage kills people after the storm has passed, not during it.
A household plan should be built around one rule: no evidence is worth an injury. Stop and call for help if you see any of the following:
- Downed or sparking power lines near the property
- Water touching electrical outlets, panels, or appliances
- A roof that sags, cracks, or shows daylight through the decking
Call your utility provider for lines and gas, and call 911 if anyone is trapped or injured. If the power is out while you assess, our power outage checklist covers immediate safety steps and food safety in the first hours.
Floodwater deserves its own warning. Never wade into standing water inside a home. It can hide live wiring, sharp debris, and sewage.
United Policyholders storm recovery guidance makes the same point: photograph and document damaged property only if it is safe to access.
Your Storm Damage Insurance Claim Checklist, Start to Finish
A storm damage insurance claim checklist keeps you from missing the steps that adjusters actually check. Work through it in order, and keep every item in one folder.
- Confirm everyone is safe and the structure is sound enough to enter.
- Photograph the outside of the home before you touch anything.
- Record the storm date, time, and location in a written log.
- Pull your policy and note your deductible and your reporting deadline.
- Call your insurer and get a claim number.
- Photograph every damaged area, wide shot first, then close-up.
- List damaged items room by room with descriptions and receipts.
- Make reasonable temporary repairs and save every receipt.
- Keep damaged materials until the adjuster has seen them.
- Store all photos, notes, and receipts in one dated digital file.
That last step matters more than most guides admit. FlintReady's field guide on how to store emergency documents securely online walks through a simple backup system. If you still have paper policies or receipts in the house, read how to protect important documents from floodwater before the next rain band arrives.
For a fuller document and storage plan, this FlintReady emergency document guide covers what to keep, where, and in what format.
| Step | Time Needed | What You Save |
|---|---|---|
| Safety check and exterior photos | 20-30 min | Wide shots of each elevation |
| Written log and claim call | 15-20 min | Storm date, claim number |
| Interior photo walkthrough | 30-45 min | Room-by-room damage record |
| Inventory and receipts | 1-2 hours | Item list with values |
| Temporary repairs | Same day if possible | Mitigation receipts |
Storm Damage Claim Photo Documentation: What to Shoot and How
Storm damage claim photo documentation works best when you shoot in a fixed order and name every file the same way.
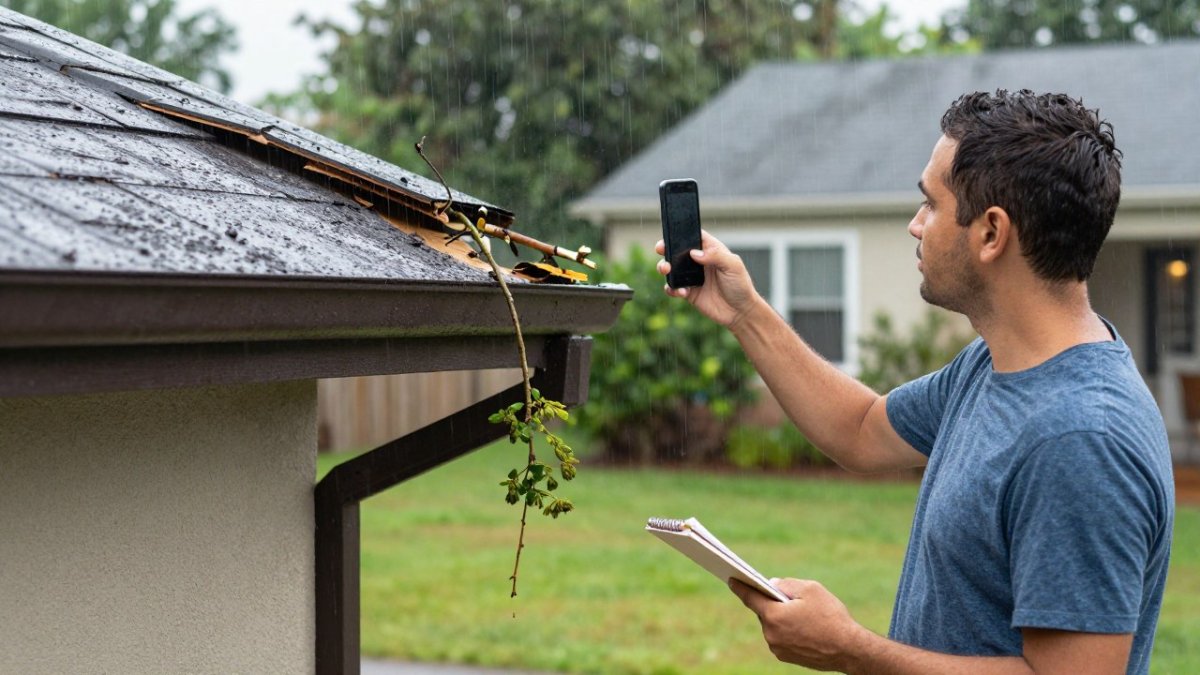
Start with a wide shot of each home elevation. Then move closer. For every damaged area, capture:
- A wide shot showing the damage in context
- A mid shot showing the damaged component and its surroundings
- A close-up showing the specific break, crack, or missing material
Do not get on the roof. Ground-level photos taken with a zoom lens are standard practice and far safer.
Shoot video too. A slow walking pan of each room shows relationships between damage that stills cannot.
Turn on your phone's date and location stamp, or hold a written date card in the first frame of each set.
A file-naming system that survives the claim
Naming and storing photos consistently is a step that saves time during a claim. Use a single pattern for every file:
YYYY-MM-DD_location_subject_sequence
For example: 2026-11-12_roof-south_close-up_01.jpg or 2026-11-12_kitchen-ceiling_wide_02.jpg. Keep the date first so files sort chronologically, use hyphens instead of spaces, and never rename after you have shared a file with the adjuster.
Create one folder per claim, with subfolders for exterior, interior, inventory, receipts, and correspondence. Put a plain-text README file in the root that lists the storm date, claim number, adjuster name, and insurer phone number.
Preserve originals and back them up
Digital evidence integrity matters more than most homeowners realize. Keep the original files exactly as your phone or camera created them. Do not crop, filter, or edit the originals; if you need an annotated copy for the adjuster, save it as a separate file with _annotated in the name.
Back up the folder to at least two places: a cloud account and a physical drive kept outside the damaged area. One approach is to upload the day's photos each evening and keep a USB drive in a go-bag or with a trusted neighbor. If your phone is lost, damaged, or stolen during the claim, the cloud copy is what keeps your evidence alive.
Watch out: avoid posting close-up photos of your home's interior, security systems, or documents on public social media. Share evidence with your insurer through their claims portal or a private link, not a public post.
Match photos to your written log
Every photo set should have a matching line in your damage log. Note the file name, the date, the location, and a one-line description. When the adjuster asks for "the shot of the south slope from the ground," you can send the exact file instead of scrolling through hundreds of images. This cross-reference is the difference between a folder of pictures and a usable evidence file.
How to Write a Damage Report for Insurance That Holds Up
A damage report for insurance is a dated written record of what was damaged, where, and when, backed by photos and receipts. Keep it plain and factual.
Write it in a notebook or a document, not in your head. For each entry, log:
- Date and time of the observation
- Room or exterior location
- What is damaged and how it looks
Avoid opinion words. "Shingles missing on the south slope, roughly a two-metre section, granule loss visible below" beats "roof wrecked." Your log should read like a survey note, not a complaint.
Keep a separate section for phone calls. Note who you spoke to, the date, the time, and what they said.
How Long to Report Storm Damage to Insurance and Meet Your Policy Duties
Report storm damage to your insurer as soon as you can, ideally within 24 to 72 hours of discovering it.
Notice deadlines are set by your policy and may vary by state.
A common mistake is waiting for a contractor's quote before reporting. Do not. Report first, then gather estimates.
If you cannot reach your insurer, send written notice by email and keep the copy. That timestamp protects you.
Separating Storm Damage From Pre-Existing Wear
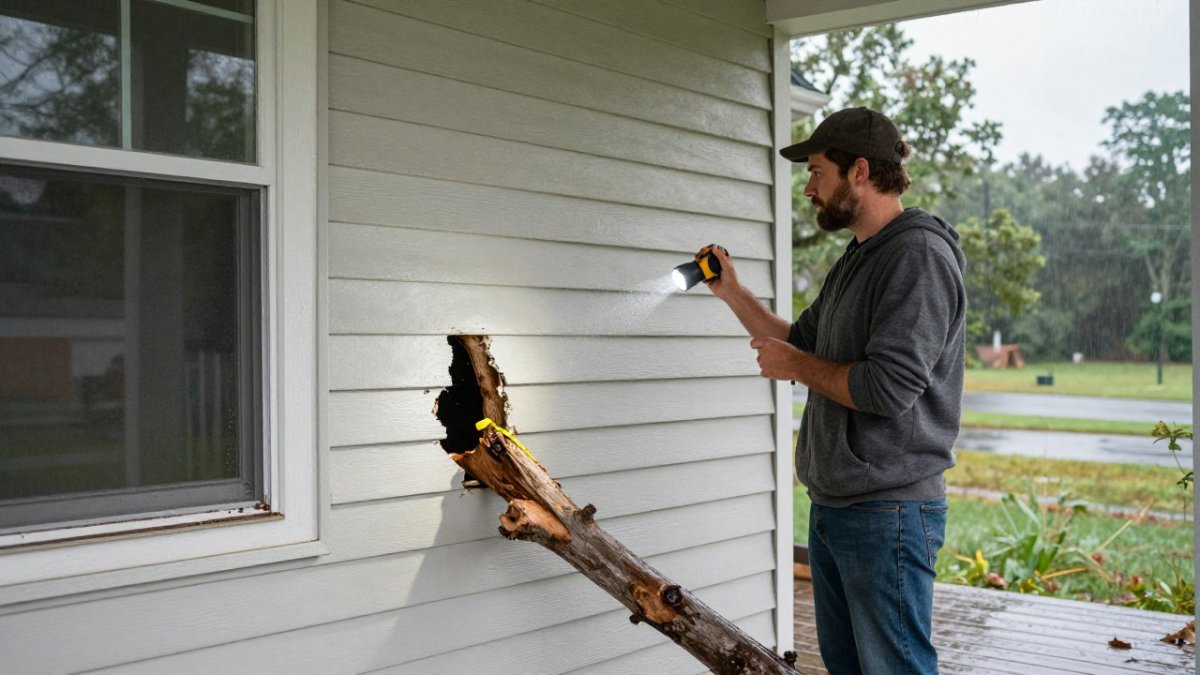
Adjusters look for cause of loss, and pre-existing damage is the fastest way to shrink a payout. Your photos need to show the difference between new storm damage and old wear.
Here is how to tell them apart in practice:
- Fresh breaks have sharp edges and clean surfaces. Old damage looks weathered and dirty.
- Hail damage shows round dents and bruised spots on shingles, often with granule loss in a pattern.
- Wind damage lifts or tears material in one direction, often on the windward side.
Photograph both. A close-up of an old stain next to a fresh crack tells the adjuster you are being straight with them, and that honesty tends to help, not hurt, your claim.
Watch out: never discard or "tidy up" damaged materials before the adjuster inspects them. Broken shingles, torn screens, and dented gutters are physical evidence.
Hidden Damage, Temporary Repairs, and Organizing Your Evidence File
Hidden damage is the part of a claim most homeowners miss, and it is where a well-organized evidence file pays off twice: once for the initial claim and again if you need to file a supplemental claim later.
Water travels. A ceiling stain in a hallway often traces back to a roof breach two rooms away. Look for:
- Stains or sagging on ceilings and walls
- Bubbling paint or soft drywall
- Musty smells in closets and crawl spaces
Photograph anything you find, even if you are unsure it is storm-related. Let the adjuster rule it out. Write down where you found it and what it looked like, using the same file-naming pattern as your other photos.
What to do when damage is discovered later
Storm damage is often not visible on day one. A leak may not show until the next rain, and a crack may widen over weeks. If you find damage after the initial inspection, document it the same way and notify your insurer promptly in writing.
Homeowners sometimes assume it is too late once the adjuster has visited. Early written notice about newly discovered damage is advisable, and your insurer can explain how supplemental claims are handled.
Prevent further damage and keep every receipt
Policies generally expect reasonable temporary mitigation; check your policy for how those costs are handled. Board broken windows, tarp the roof, and move valuables out of wet rooms. Photograph the repair before and after, and save every receipt.
Watch out: do not make permanent repairs or discard damaged materials before the adjuster has seen them. Temporary mitigation is expected; permanent replacement before inspection can complicate the claim.
Compare contractor estimates and adjuster scopes in writing
When you receive a contractor estimate and the adjuster's scope of loss, compare them line by line. Look for differences in:
- Measurements, such as roof squares, linear feet of siding, or room dimensions
- Materials and grades specified
- Line items the adjuster omitted, such as permit fees, disposal, or matching siding
Put your questions in writing and keep the replies. If a contractor's measurement differs from the adjuster's, ask the contractor to provide a written measurement report you can forward. A calm, documented disagreement is normal and often resolved with a re-inspection. Keep every email, portal message, and letter in your correspondence folder.
Organize everything into one dated file
Name photos by date, location, and subject, for example 2026-11-12_roof-south_close-up_01.jpg. Keep a single index document that lists each file, its date, and a one-line description.
A simple naming and backup system saves hours when the adjuster asks for a specific shot, and it gives you a clean record if you need to escalate a disagreement or file a supplemental claim.
Run Your Own Readiness Check Before the Next Storm
Documentation is a response skill. Readiness is what you do before the storm, and it is what makes the documentation fast when it counts.
FlintReady's three-minute readiness diagnostic gives you a prioritized fix list for your household.
A few things to do this week:
- Scan your policy and store a copy online
- Photograph each room now, before damage, as a baseline
- Save your insurer's claims number in two places
For the broader picture, our severe storm preparation guide covers the gaps most households miss.
Storms expose whatever your paperwork was missing. The households that recover fastest are not the ones with the most gear; they are the ones who knew their policy, kept dated records, and had a plan before the wind arrived.
Frequently Asked Questions
How long do I have to report storm damage to insurance?
Report it as soon as you can safely assess the damage, and treat the first 24 hours as your working target for photos and notes. Policies generally call for prompt notice, and the required period depends on your policy and state. Late reporting can weaken a claim if the delay makes damage harder to verify. Call your insurer's claims line, get a claims number, and confirm the deadline in writing.
What photos should I take after storm damage?
Start wide, then get close. Shoot each home elevation, the whole roof line from the ground, and the yard so the extent is clear. Then take close-ups of shingles, dents, cracked glass, water stains, and damaged belongings. Include something for scale and turn on date stamps. Never climb onto the roof for storm damage claim photo documentation. Finish with a short video walking the same path so the layout is obvious.
Should I make temporary repairs before the insurance adjuster arrives?
Yes, when it is safe and reasonable. Policies generally expect reasonable steps to prevent further damage, such as a tarp over a breached roof or a bucket under a leak. Keep every receipt and photograph the damage before and after the repair. Do not make permanent repairs or throw away damaged materials until the adjuster has seen them, because that evidence supports your claim.
Can I throw away damaged items before the insurance inspection?
Hold on to them if you can. Move soggy or hazardous items outside for safety, but photograph each one first, note the make, model, and age, and keep a sample or the receipts. If something must go for health reasons, document it thoroughly and log the disposal. Preserving evidence for inspection can support your claim.
