How do you protect important documents from floodwater?
Last Updated: October 25, 2026
Quick Summary
To protect important documents from floodwater, store originals in a waterproof container with a verified gasket seal on an elevated shelf at least 4-5 feet above the floor, keep digital backups in cloud storage and an encrypted external drive, and maintain a portable grab-and-go pouch with critical documents near your exit route.
- Floodwater can rise 6-12 feet depending on location and storm intensity, so store documents on upper floors, never in basements or ground-level areas.
- Verify flood-rated containers have a submersion rating and continuous rubber gasket with positive locking clips, not just water-resistant spray ratings.
- Mold can destroy wet documents within 24-48 hours, so air dry them flat on absorbent surfaces in a ventilated area without heat or stacking.
- Build an inventory with document names, storage locations, and replacement contact information, stored in three places: printed with documents, in cloud storage, and emailed to a trusted family member.
Table of Contents
- Which important documents should you protect before a flood?
- Where to store important documents at home to survive floodwater
- How to keep important documents safe online
- Creating an emergency document inventory and replacement plan
- How to dry water-damaged documents after a flood
- Building your household document protection strategy
- Frequently Asked Questions
Which important documents should you protect before a flood?
The first step in protecting important documents from floodwater is knowing which matter most: some are irreplaceable, others can be rebuilt.
Your essential records fall into three main categories:
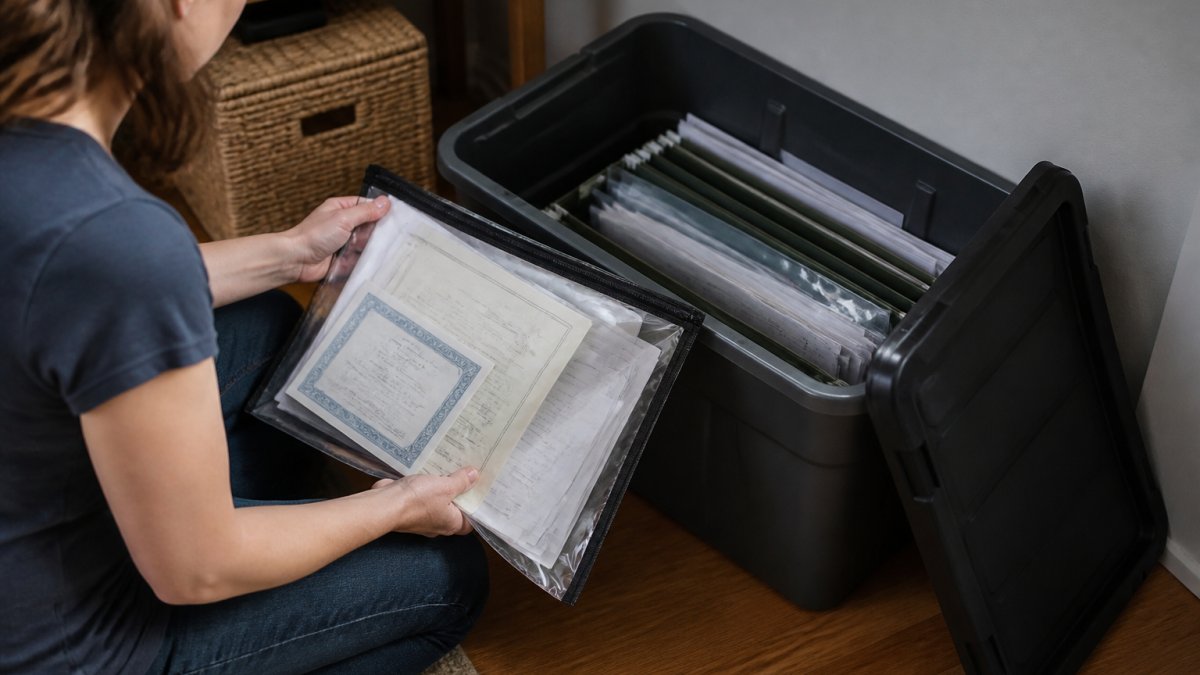
Identity and legal documents are non-negotiable: passports, birth certificates, marriage licenses, driver's licenses, and Social Security cards. Without them, proving who you are becomes a months-long bureaucratic nightmare. Insurance policies, deeds, leases, and wills establish ownership and legal standing.
Backup documentation includes receipts for major purchases, vehicle registration, professional licenses, and business records, these support insurance claims if primary records are damaged.
Prioritize documents that cannot be quickly replaced: a birth certificate takes months to reorder; a bank statement can be reprinted in minutes.
Where to store important documents at home to survive floodwater
Storing documents at home requires understanding how floodwater moves. It rises, spreads, and seeps into areas you might think are safe.
Elevated storage and avoiding flood-prone areas
Height matters more than you think. Floodwater can rise 6-12 feet depending on location and storm intensity. Ground-level storage fails quickly, and basements flood first and deepest.
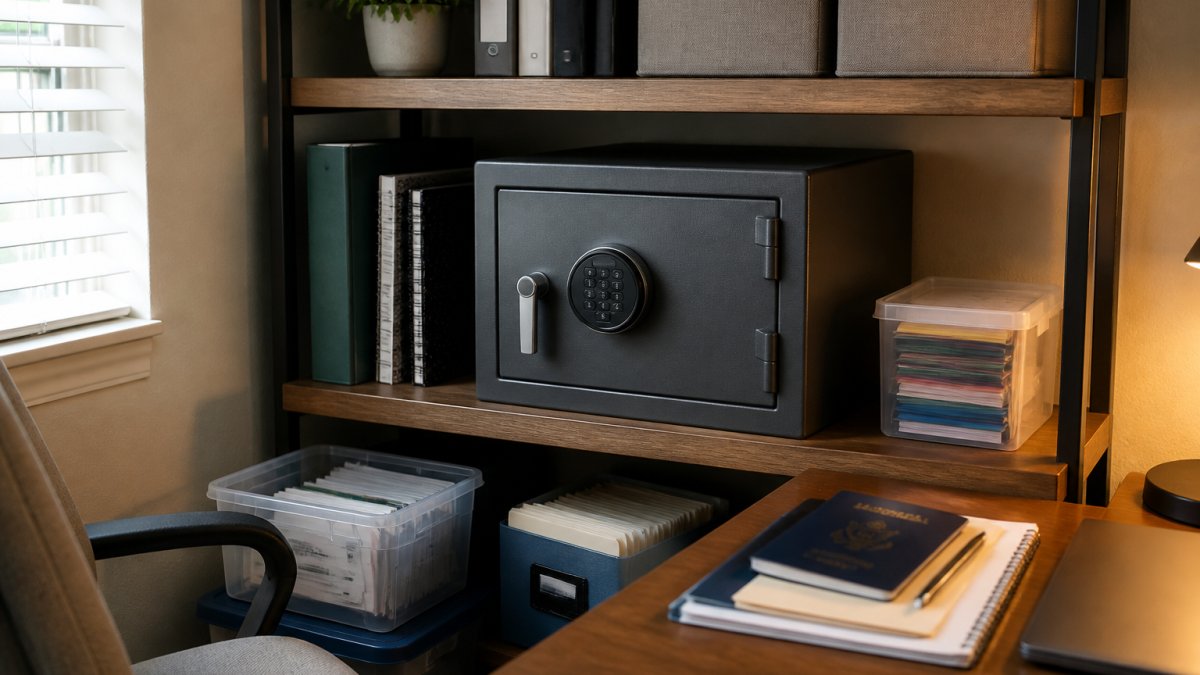
Move important documents to upper floors, ideally the second story or higher, on shelves at least 4-5 feet above the floor. Attics work if they stay dry, but avoid them in older homes where roof leaks are common.
Avoid these flood-prone locations entirely:
- Basements (first place water enters)
- Ground-floor closets or cabinets
- Crawl spaces or utility areas
- Garages (especially if they're partially below grade)
- Storage areas near exterior walls or windows
How to verify a flood-resistant safe or container before you buy
Most product labels aren't written for flood conditions, a "water-resistant" container can fail under a few inches of standing water.
1. Look for a stated submersion rating, not just a spray rating. Water resistance is tested two ways: splash/spray and immersion.
**2.
3. Separate fire rating from water rating. A fire-resistant safe keeps heat out, not water.
4. Plan for seal maintenance. Gaskets degrade.
Waterproof containers, bags, and layered protection
Consider these storage options:
Waterproof document boxes are affordable and practical, with gasket seals that create an airtight barrier. Look for positive locking clips and confirm a submersion claim rather than only "water-resistant."
Water-resistant safes offer combined fire and water protection when both ratings are stated, though they're heavier and pricier than simple boxes.
Plastic bags and vacuum-sealed storage work as a backup layer. Zipper-sealed freezer bags add a moisture barrier, and vacuum-sealed bags remove air for a tighter seal.
Stack your protection: place documents in a zipper bag, then inside a waterproof box, then on an elevated shelf. Redundancy saves documents when one layer fails.
Portable grab-and-go versus fixed storage
A fixed safe protects documents in place but does nothing if you must evacuate. Most households need both: a flood-rated container for originals and a portable pouch for documents you'd carry out.
A portable grab-and-go pouch should hold passports, IDs, a printed inventory, and a USB drive with scans. Keep it near your exit route, not locked inside the safe.
How to keep important documents safe online
Digital backups are your insurance policy, a digital copy survives floodwater, fire, and theft, but a backup is only useful if it's secure, accessible, and tested.
Digital backup security and recovery testing
Create secure digital copies of every critical document. Scan or photograph both sides at high resolution so text stays readable.
Store digital copies in multiple locations, a single backup location is a single point of failure.
Cloud storage is your primary backup.
Local encrypted storage provides a second backup.
Off-site storage is your third layer.
Update your digital backups annually or whenever documents change.
Creating an emergency document inventory and replacement plan
An inventory tells you exactly what you have and where to find replacements.
Create a simple list with three columns: document name, location stored, and how to replace it. Include contact information for relevant agencies or institutions.
Sample inventory structure:
| Document | Stored Location | Replacement Source | Contact |
|---|---|---|---|
| Birth Certificate | Waterproof safe, shelf 2 | Vital Records Office | state.gov/vital-records |
| Passport | Waterproof safe, shelf 2 | U.S. State Department | state.gov/passport |
| Insurance Policy | Cloud storage + safe | Insurance company | [policy number] |
| Deed | Cloud storage + safe | County recorder | county.gov |
| Medical Records | Cloud storage | Healthcare provider | [provider phone] |
Store this inventory in multiple places: print a copy with your documents, save one in cloud storage, and email one to a trusted family member.
Prioritize replacement documents by importance. Identity documents and insurance policies come first. Financial records come next. Less critical documents can wait.
FEMA's guide to preparing for disasters recommends creating this inventory as part of your overall household emergency plan. Red Cross emergency preparedness resources emphasize that knowing what you own is the first step to protecting it.
You can integrate document protection into your broader household emergency plan using a comprehensive household emergency planning resource that covers communication, roles, medical needs, and evacuation alongside document protection.
How to dry water-damaged documents after a flood
If documents get wet, your response in the first 24-48 hours determines whether they survive. Here's how to retrieve, triage, and dry them, and when to call a professional.
Safe retrieval during and immediately after a flood
Do not enter a flooded building until authorities say it is safe, floodwater can carry sewage, chemicals, and electrical hazards. Once cleared, retrieve documents in this order:
- Photograph the space before you move anything. Take wide and close-up photos of the storage area and any damaged containers to support insurance claims.
- Wear gloves and avoid contact with floodwater. Floodwater is contaminated. Wear waterproof gloves and boots, and wash hands after handling wet items.
- Remove the entire container first. Carry the sealed container to a dry, ventilated area before opening it, opening a wet box in a damp room spreads moisture and mold spores.
- Separate wet from dry immediately. Anything wet goes into a staging area with airflow. Dry items stay dry and are moved to a clean, elevated space.
- Do not stack wet documents. Stacking traps moisture and encourages mold. Lay items flat or interleave them with absorbent paper.
Assess damage quickly. Documents exposed to floodwater risk mold growth within 24-48 hours, which destroys them and spreads to nearby items. If documents are heavily soaked and you lack freezer space, professional restoration may be your only option.
Drying by document type
Different materials fail in different ways. Match the technique to the document.
Photographs and important personal records. Photographs are fragile when wet.
Books, journals, and leather-bound items. Stuff them loosely with absorbent paper to maintain shape, changing the paper regularly.
Laminated documents (driver's licenses, insurance cards). Lamination may separate when wet.
Freeze as a temporary measure. If you cannot air dry immediately, place wet documents in a freezer.
When to stop DIY and call a conservator
Some damage is beyond home treatment. Seek a professional paper or photograph conservator if any of the following apply:
- Documents are stuck together and cannot be separated without tearing.
- Mold is visible and spreading, or the item has a strong musty odor after drying.
- Ink is running or fading, or paper is crumbling at the edges.
- Items are coated, glossy, or on unusual media (blueprints, artwork, certificates with seals).
- Electronic media contains data you cannot replace.
A conservator can freeze-dry, vacuum-dry, or stabilize items that home methods would ruin. Ask your insurer whether restoration costs are covered before you discard anything, and keep a written record of what was damaged, treated, and replaced.
Once documents are fully dry, assess what can be salvaged. Legible documents can be scanned and stored digitally; heavily damaged ones may need replacing through the issuing agency, using the inventory and replacement plan described earlier.
Building your household document protection strategy
Protecting important documents from floodwater is not a single action but a system with multiple layers: physical storage, digital backups, inventory management, and a recovery plan.
Start with your most critical documents this week. Scan them, store copies in cloud storage, and place originals in a waterproof container on an elevated shelf.
Next, set up your digital backup system. Choose a cloud storage service, enable security features, and test your access.
Finally, integrate document protection into your household emergency plan. Work through the complete emergency planning guide to ensure your document strategy fits your broader disaster readiness, and reference a detailed guide on storing cash and important documents for emergencies for additional physical and digital protection strategies.
At FlintReady, we help households build calm, practical disaster plans. Our 3-minute readiness diagnostic identifies gaps in your emergency preparedness, including document protection, and walks you through a prioritized action plan so you can strengthen your household's resilience without feeling overwhelmed.
Frequently Asked Questions
Which important documents should I protect before a flood?
Prioritize documents that prove identity, ownership, or financial status: passports, birth certificates, property deeds, insurance policies, medical records, and financial statements. Keep a separate list of legal records, lease agreements, and business documents specific to your household. Store originals in waterproof containers and keep digital copies off-site. FlintReady's readiness diagnostic helps you identify which documents matter most for your household's specific situation.
Are waterproof bags and vacuum-sealed bags enough to protect documents from floodwater?
Waterproof and vacuum-sealed bags provide temporary protection during evacuation but are not reliable for long-term flood storage. Water can seep through seams, zippers, and material degradation over time. Pair them with watertight containers or water-resistant safes for documents stored at home. Use bags mainly for emergency retrieval kits and documents you're transporting during evacuation. Test any container with water before trusting it with essential records.
How should I store digital copies of important documents?
Use cloud storage with strong encryption and two-factor authentication for digital backups. Store copies on multiple devices (external hard drives, memory cards) kept in separate locations, never all in one place. Test recovery regularly by retrieving a document to confirm the backup works. Avoid storing only on a single computer or device that could be damaged or lost. FlintReady's platform helps you track which documents have been digitized and where backups are stored.
What should I do with wet documents after a flood?
Act immediately: remove documents from water, blot excess moisture gently, and air-dry flat on clean surfaces or hang them with clothespins. Do not use heat or direct sunlight. For valuable originals, freeze them if you cannot dry them immediately, this slows deterioration. For water-damaged legal documents, contact the issuing agency (court, property office) about certified replacements. Photograph wet documents before drying for insurance claims. Some documents like photographs require specialized freezing and thawing to prevent permanent damage.
Document protection starts with a plan. The documents you protect today determine how quickly you recover after a flood. Store originals safely, maintain digital backups, and keep an inventory of what matters most. Get started with a structured preparedness framework that helps you protect documents alongside the rest of your household emergency readiness.
